Banshee Assembly Instructions
Introduction
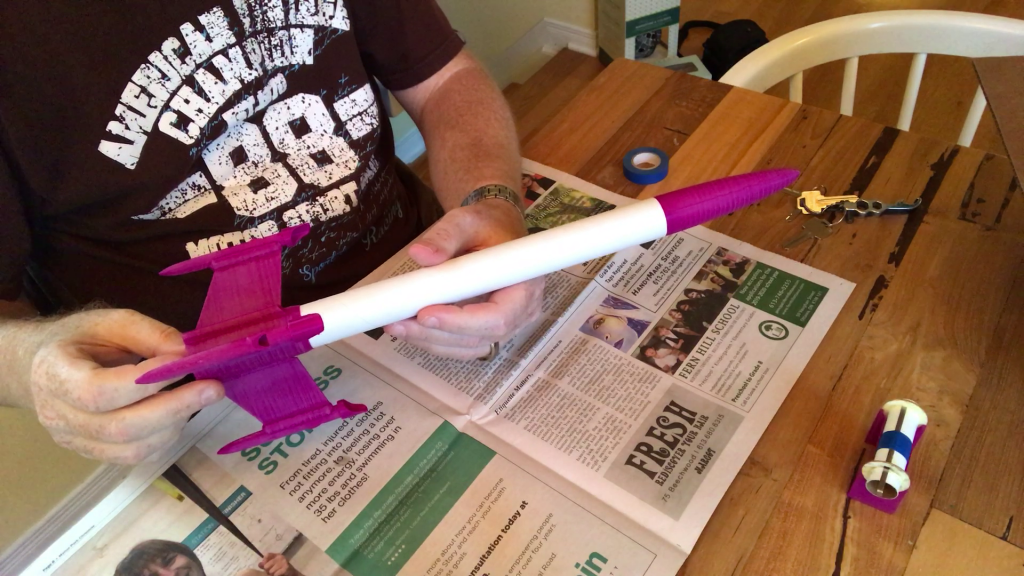
The Banshee is a simple model rocket kit well suited for beginners. There are aspects however that do require adult supervision so if you have a child be prepared to work with them. For example, it would be very easy for a child to glue themselves to the rocket using the CA glue (Super Glue is a CA glue. More on this later) As an adult, I still find this a problem.
You can create this model using parts you buy or manufacture yourself. I’m not in a kit creation business. Model rocketry is a very safe sport when you follow some simple safety guidelines. If you’re near a rocket club I highly recommend joining. They’ll be able to walk you through your first flights in a safe manner.
Take your time. The kit does not take a lot of time to build, but there will be parts where you want to let the glue or paint dry before moving on to the next step. Read through each section completely before proceeding. Make sure the parts fit before applying glue. These simple guidelines can be the difference between an amazing rocket and a non-flyable mess.
Create your own kit
The entire kit assembled here is home made from a combination of purchased parts and 3D printed parts. If you don’t have access to a 3D printer, there are online services that will print parts for you. My local library has 3D printers for public use, as does the local university. A full list of materials required, and links to the 3D design files is at the end.
Assembly Materials
Required
- CA glue
- Wood glue
- Electrical tape
- Hobby knife (X-Acto or similar) with a new sharp blade. No running please!
- Paper towel for clean up
- A small stick such as a popsicle stick or a bamboo skewer
Optional
- Sandpaper
- Glossy clear spray paint
About Cyanoacrylate (CA) glue
The most commonly known brand of CA glue is probably Super Glue, although it is produced by a number of manufacturers under a number of brand names. They’re all similar but not all the same. Subtle variations in formulations can produce some differences in how they behave.
You’ll probably get the most consistent results from glue obtained through your local hobby store. They’re quite clearly labelled for their different properties making it easy to select the one most appropriate. You can also get suitable glues for the local hardware store. They’re often less expensive, but it’s not always easy to know what you’re getting. There may be some trial and error involved before you know which is most appropriate.
For the sake of this kit, the primary thing we’re looking at is thickness. A thin glue flows like water. This is the one that will have you sticking to your rocket. It is easily and quickly absorbed by paper such as the cardboard body tubes used in this kit. It also dries very quickly which means pieces stick almost immediately, often before you have time to move them into the correct position. For this reason, I don’t recommend thin CA for this kit.
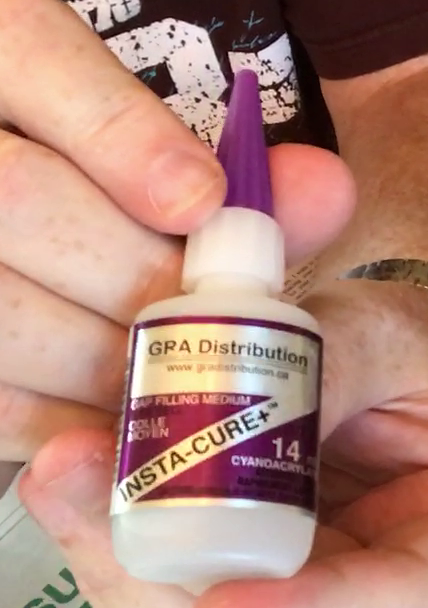
A medium to thick CA glue will flow more slowly. There are also gel variations. This will still be absorbed by paper and cardboard albeit more slowly so you have more time to move parts into the correct position. They also are able to fill gaps between parts. 3D printed parts benefit from this. If you’ve never seen 3D printed parts before, you may be surprised that they’re not the perfectly smooth plastic pieces that you used to getting from an injection moulding machine. For both of these reasons, I recommend a medium to thick CA glue.
This is the glue I used. There are many brands available with similar properties so don’t feel you have to get this one. Your local hobby store will help you find one similar if you’re confused.
There are accelerators available for CA glue. Once you have the part in position, spraying with this will cause the CA glue to instantly set. It’s not a requirement. In fact, I’ve never used it. It does mean for some of the thicker glues you have to hold the parts in place a little longer while the glue grabs. For my glue, that meant about 30 seconds. I’m ok with that short wait. You’ll probably find this more helpful when you have parts that are very difficult to hold in place.
Be very careful when using CA glue. It works far better at gluing your fingers than any other material I’ve worked with! Nail polish remover (acetone), can help if you get stuck, pun intended.
About wood glue
Standard carpenter glue is recommended. This is the yellow glue sold in your local hardware store, although your local hobby shop will probably sell some as well. White glue will work, but it won’t produce as strong a joint.
Preparing the 3D printed parts (Optional)
This step isn’t completely necessary, but it is one I recommend. 3D printed parts aren’t completely smooth, and in my case my 3D printer is an older one with issues. The parts I produce are a bit rough. For this reason, I sanded my parts to make them smoother. Unfortunately, sanding also destroys the colour of the surface making it look flat and dull. This can easily be fixed with a coat or two of clear coat spray paint. If you’re happy with the colour and surface of your part, feel free to move on to the next step.
Sanding 3D printed plastic is similar to sanding wood in that there is a “grain”. The parts are produced by adding plastic in very thin layers. Sanding across the layers will take away a lot of material quickly, but won’t produce a smooth final result. Sand with the grain, not across it. Sanding plastic is different from sanding wood in that the heat produced can melt it. Don’t be too vigorous. A slow and regular approach works better.
You can also wet sand. This is what I do. Use a special wet/dry sandpaper for this. All hardware stores have them and they’re not very expensive. To use it, just dip your sandpaper in water first. As the paper gets coated in plastic, swirl it around in the water so you have clean sandpaper again.
You want to use a fine sandpaper for this. The plastic isn’t so rough a coarse or medium paper is required. I used 400 grit wet/dry paper. You still won’t get it down to injection moulded smoothness without using a filler primer so there’s no need for any finer paper.
Unless you’re painting the rocket a different colour, I don’t recommend using primer. But if you are painting your rocket, you can benefit from a few coats of a good filler primer. This can get you to the smooth injection moulded quality finish. There are good tutorials for this online so I won’t duplicate it here.
Motor mount assembly
Please read through this section completely before proceeding.
Build your motor mount before moving on to the other parts of the rocket. This is a step that requires glue to dry, so it’s nice if you can be working on other parts in the meantime.
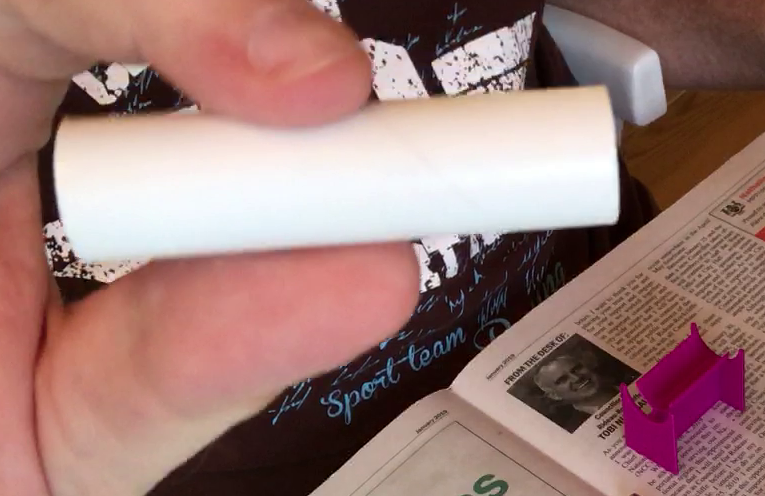
Select the motor mount tube from the kit. This is the smaller and shorter of the two cardboard body tubes. It will be centered inside the main body tube using cardboard centering rings with a cardboard block at the front to prevent the motor from flying up though the rocket, and a metal spring that keeps the motor in place when the parachute ejection charge fires.
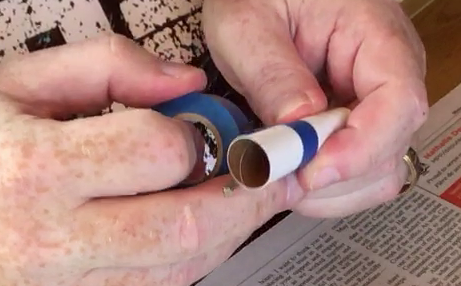
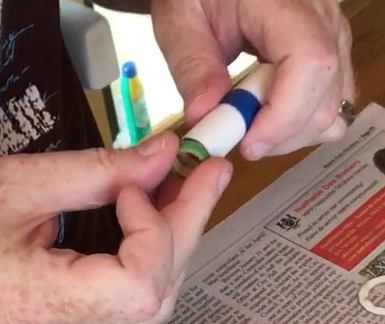
To install the spring, measure 6 mm (1/4 “) from one end of the tube and using your hobby knife cut a hole about 3 mm (1/8 “) across. You can use the motor mount block to measure. When cutting, don’t cut through the tube all at once. Cut using several shallow passes. This will reduce crushing damage to the tube, and produce a cleaner cut. The end of the spring should be able to fit in this slot.
Use the electrical tape to secure the spring in place. The spring should be aligned along the length of the tube. The tape should wrap around the tube at least once, but twice is better. This will be the flex point of the spring.
Test fit the motor mount block inside the tube behind the spring. You may need to smooth down the edges with your fingernail, or even sand it a bit to allow it to slide in easily. Glue this in the tube so that it butts up against the spring. This piece helps to transfer the thrust of your motor to the rocket, and prevents the motor from flying up through the middle of the rocket.
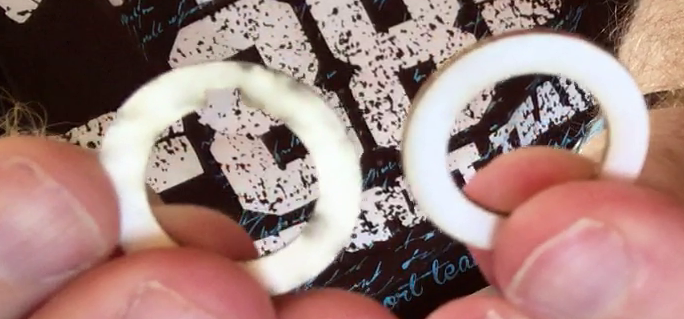
Locate the centering rings. There are two and they’re both different. Both will be glued approximately 6mm (1/4 “) from the end of the tube, but the one with the notch will fit over the spring allowing it room to flex. Test fit these on the mount before gluing. If you have difficulty getting it on the tube, you can run your fingernail over the inner edge to smooth it down a bit. If it’s still too tight, gently sand it until it fits. It should slide on easily, but still be tight enough to remain perpendicular to the body tube.
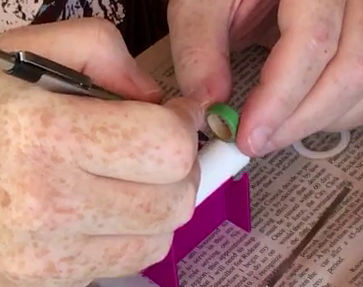
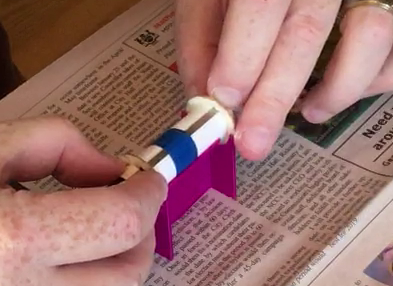
To help, I’ve included a small cradle in the kit. This will allow you to hold the tube in place, while ensuring the rings are straight against the edge.
Once you’re sure of the fit, start by gluing the centering ring without the notch. This will go on the end of the body tube where the spring fits through the hole. Run a small bead of glue around the tube where the ring will fit. It should butt up against the spring. Slide the ring over the end of the tube and move it into place. This will become softer and more difficult to place as the paper absorbs the glue, so be careful. It doesn’t have to look pretty as it will be hidden inside the rocket, but it is structural. When in position it should be perpendicular to the tube. Use the cradle to help you. Remove any excess glue using your finger or some paper towel. Let the glue set before moving on to the next ring.
The notched ring slides over the spring giving it room to flex. Glue it about 6 mm (1/4”) from the end of the tube.
Let the glue set until firm. Next you’ll add fillets to the joints. Have some paper towel on hand before you begin this process. On each side of the centering rings where it contacts the body tube, apply a bead of glue. Then run your finger around the joint until the glue fills any gaps and provides a nice filleted transition between the body tube and the centering ring. You’ll be removing most of the glue in this process and that’s ok.
Let the motor mount assembly dry completely before final assembly. This can normally be done safely after about a half hour, although for many glues full drying won’t occur for a full day. Read the manufacturer’s instructions for your glue.
Assembling the fin can
Please read through this section completely before proceeding.
As with the motor mount, test fit everything before gluing. CA glue can set in position very fast, so you won’t have much time to correct mistakes. The thicker CA glues take a little longer to set giving you more time to work. That also means you’ll have to hold it in place for 30 seconds or so until it grabs. Don’t rush things.
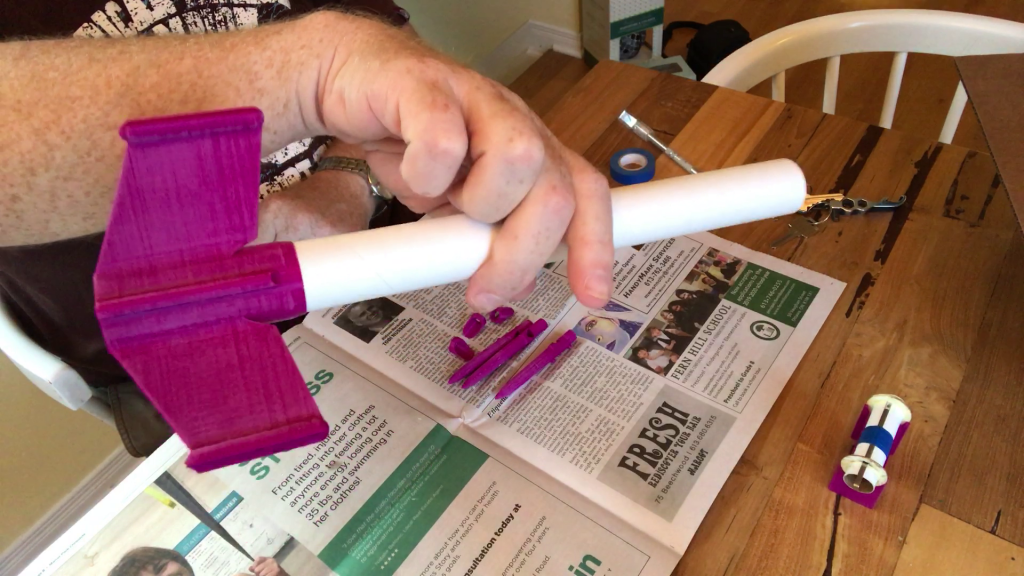
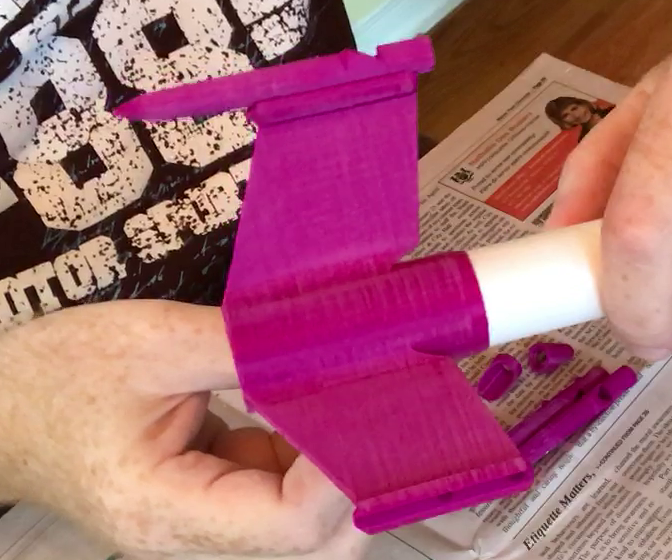
I found it was easiest to start with the largest part first. The main fin can slides over the body tube so that the tube butts up against the bottom of the fin can with the fins raked forward. This also placed the tapered portion of the fin can to the front. You may need to sand the inside of the fin can to have it fit properly. It should slide easily over the body tube as you won’t have much time to position it correctly.
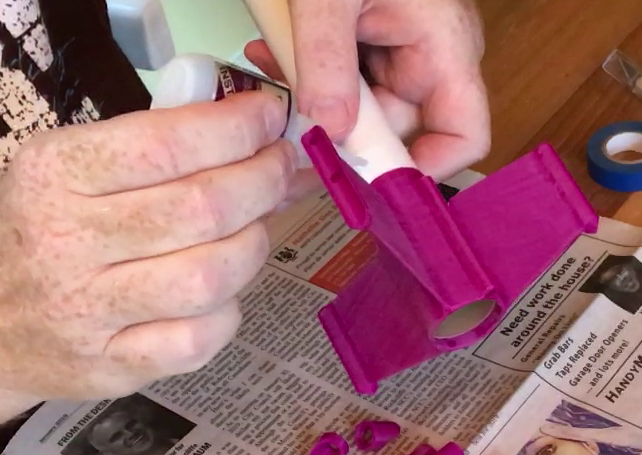
You won’t be able to apply a bead of glue and slide it on. CA glue bonds too quickly for that, and that’s way too much glue. What I did was slide it into position, and then move the body tube up about 6 mm (1/4 “). I then applied 4 small drops of CA around the body tube just ahead of the fin can, and then on the inside of the fin can behind the body tube. Quickly slide the fin can into place and hold until the glue grabs. Keep your fingers clear! I let that set for a few minutes by standing it on the body tube with the fin can up so it doesn’t accidentally glue itself to the table.
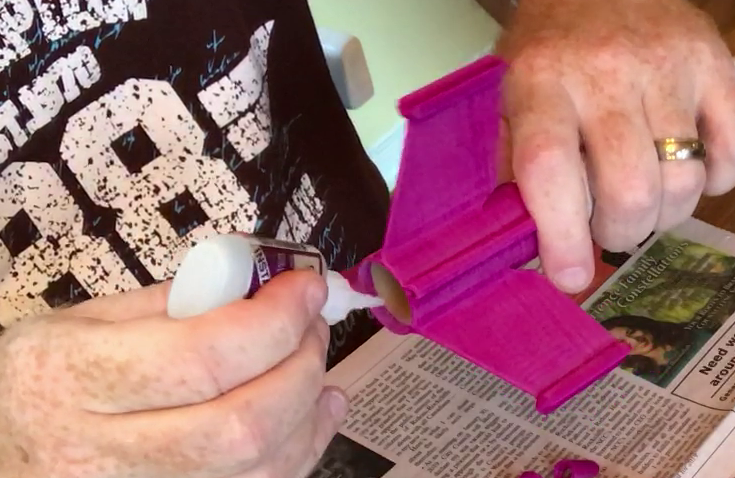
Once set, you can glue the whistles in place. Again, test fit before gluing. The open part of the whistle must face forward. This allows air to enter as it flies. It also allows the rocket to stand on the base of the whistles. Each whistle has two posts that fit into corresponding holes in the fin can. I used 3 drops of glue here: on in each of the holes, and one on the fin can between the holes. Hold the whistle in place until the glue grabs before moving on. You may find it helpful to give each one a minute or two before moving on to the next. Patience is good here.
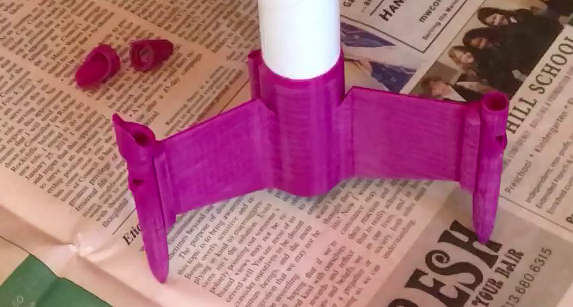
With the whistles in place, you can glue the intakes in place. You can make a personal aesthetic choice here. For me, I had the high part of the intake on the outside. You could also place it on the inside making each whistle look more like a pipe from a pipe organ instead of an aircraft intake. Whichever you choose, glue into place and let set.
Motor Mount installation
Please read through this section completely before proceeding.
Test fit is very important here. Ensure the part can fit into place before applying any glue. Sand the outside of the centering rings, and the inside of the tube at the edge if the fit is too snug. The mount should slide easily inside the body tube until the bottom of the motor mount is even with the bottom of the tube. The spring will extend beyond the bottom of the tube.
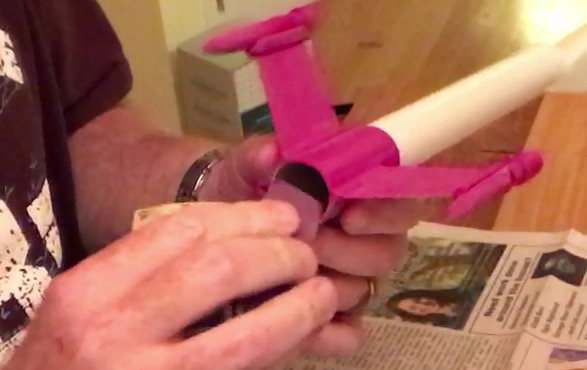
Ensure you have the motor mount facing the correct way! If you install this backwards you won’t be able to insert the motor.
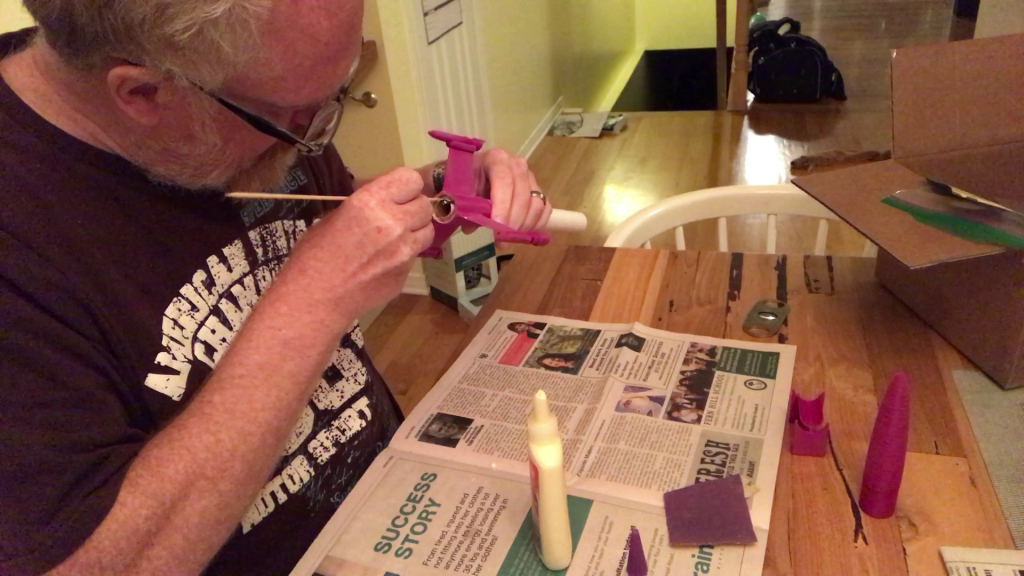
Once you’re sure you’ll be able to slide the mount inside the tube easily, you can apply glue to the inside of the body tube. If you’re like me, your fingers are far too large to fit inside and work effectively. Instead use a stick of wood. A small dowel, popsicle stick, or in my case a bamboo skewer all work fine. Marking the stick with a pencil can help you get the glue in the correct position. I measure the distance from the centering ring to the back of the motor mount using the motor mount before I glue it in.
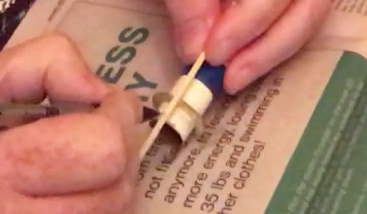
Apply glue to the end of the stick. Insert it into the tube up to the pencil mark and rub the glue onto the inside of the tube. You may need to do this multiple times to get enough glue in the tube to form a complete ring. Then I apply glue to the rear centering and slide the motor tube into position.
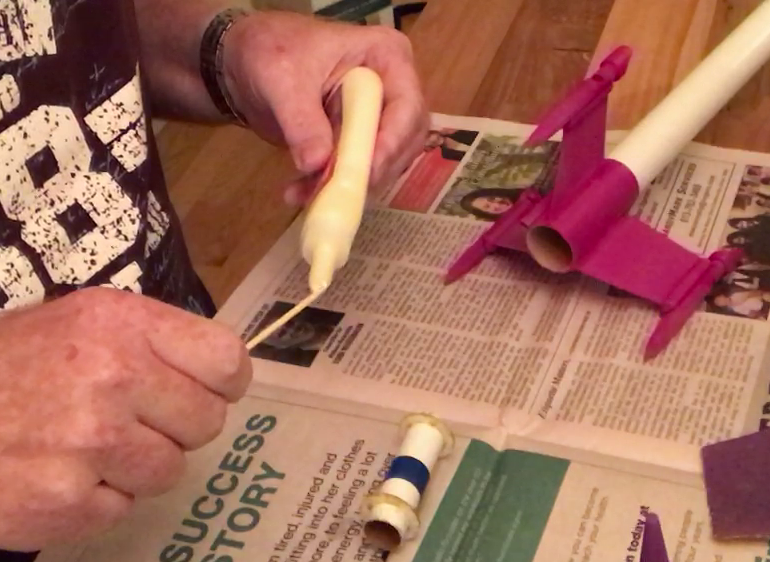
Using the stick you can also create a crude fillet around the mount. There’s not much room here so don’t expect perfection.
Recovery
Finishing (Optional)
Preparing for flight
Links and References
Parts List and Design Files